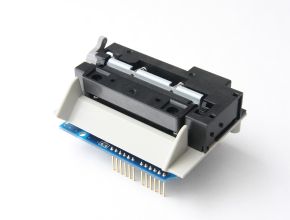
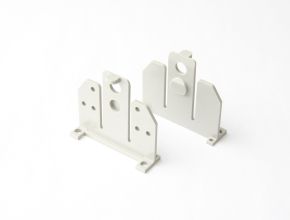
| Step1 : Check all contents |
|---|


|
| Step2 : Prepare "Electric Power Source" |
|---|
|
Please DO NOT connect Arduino and AS-289R2 at this point. Connect Power Source and Power Harness together. (Use AC Adapter 5V4A this time) Be sure to connect Red wire with +5V and Black wire with GND. [Adafruit] Female DC Power adapter - 2.1mm jack to screw terminal block 
|
| Step3 : Turn on the Power |
|---|
|
Please DO NOT connect Arduino and AS-289R2 at this point. Connect Power Harness(from Step2) into AS-289R external Power Connecter(CN1) and load an electric source. Confirm both Power LED(LED1:Green light) and Status LED (LED2:Amber light) are on. Please note that the status light will turn on when you don't have thermal paper. 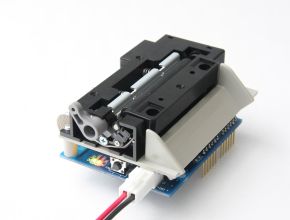
|
| Step4 : Test Print |
|---|
|
Please DO NOT connect Arduino and AS-289R2 at this point. Set thermal paper on units. Turn off the main power and be powered on while hold down the field switch (SW1) It will make a print test run. 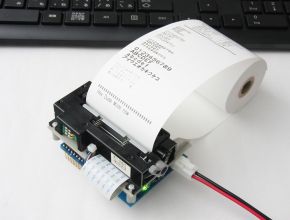
|
| Step5 : Upload Sample Sketch(Program) |
|---|
|
Please DO NOT connect Arduino and AS-289R2 at this point. Write in Sample Sketch on Arduino. Please click to view Sample Sketch for Arduino. Please click to view Sample Program for ARM mbed. Please click to view Sample Program for Raspberry Pi. Please click to view Sample Program for Gadget Renesas. Please click to view Sample Program for ESP module. 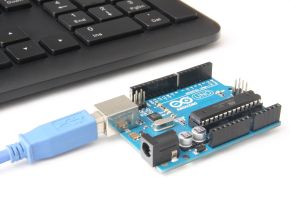
|
| Step6 : Connect Arduino Board & Print |
|---|
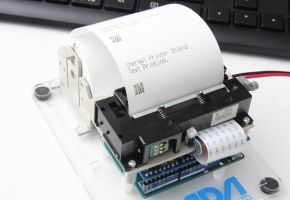
When you connect AS-289R2 and Arduino, then be power on, the Sample Sketch will operate from Step 5.
|